Note
Access to this page requires authorization. You can try signing in or changing directories.
Access to this page requires authorization. You can try changing directories.
In this quickstart, you upload and index a sample video by using the Azure AI Video Indexer web portal. Then you explore the insights the service generates. This process shows how Video Indexer automatically extracts key information from video content - such as people, text, and topics - without writing any code. After completing this quickstart, you understand what Video Indexer can do before deciding whether to use the API for automation.
Prerequisites
Create or find an MP4 video.
Use a video that's about 5 minutes long. We suggest it has:
- People speaking
- Some nonspeaking noises
- Objects such as coffee cups
- A couple of different scenes like an indoor scene followed by an outdoor scene
These suggestions help you see various results after indexing. You don't need to include all of them.
Get a trial account
Go to the web portal and sign in with a Microsoft Entra ID account, a personal Microsoft account, or a Google account. The portal assigns you a trial account automatically.
Upload a video
Upload and index the video using the default settings. The activity of indexing a video is called a "job."
On the home page of the web portal:
- Select the Upload button. The upload screen appears.
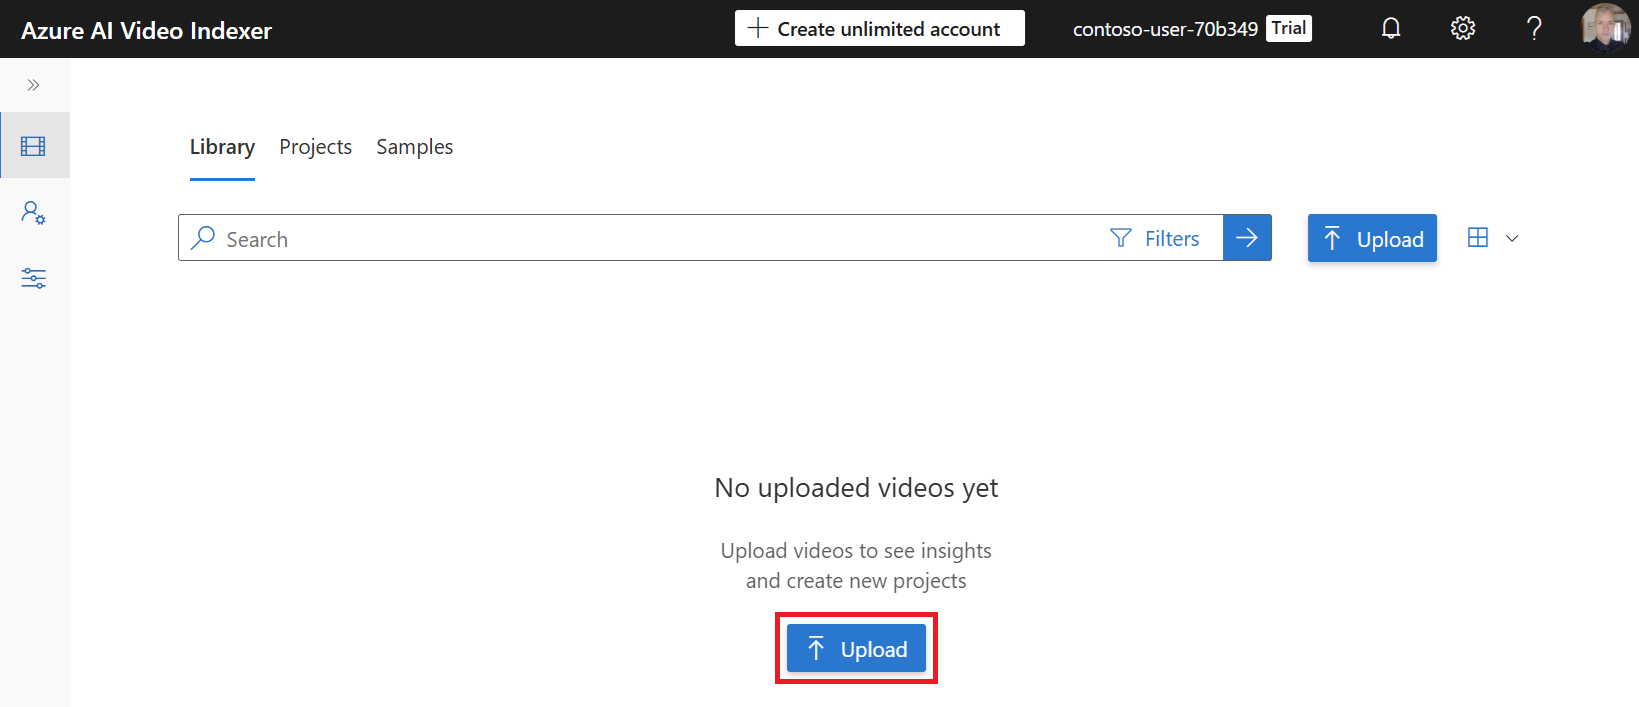
- Select Browse for files.
- Select the video, then select Open.
- The File name field fills in automatically, but you can change it.
- Leave the other settings as they are, except for the video source language.
- Select the source language from the Video source language list.
- Select Review + upload. You see the review screen.
- Select the rights certification box, then select Upload + index. The video starts uploading. Select Run in background to close the screen.
- If you close the uploading window, select the notification (bell) symbol to check the upload status.
View Timeline and Insights
The Timeline and Insights tabs show information from the service after indexing.
While your video uploads and indexes, view some sample videos.
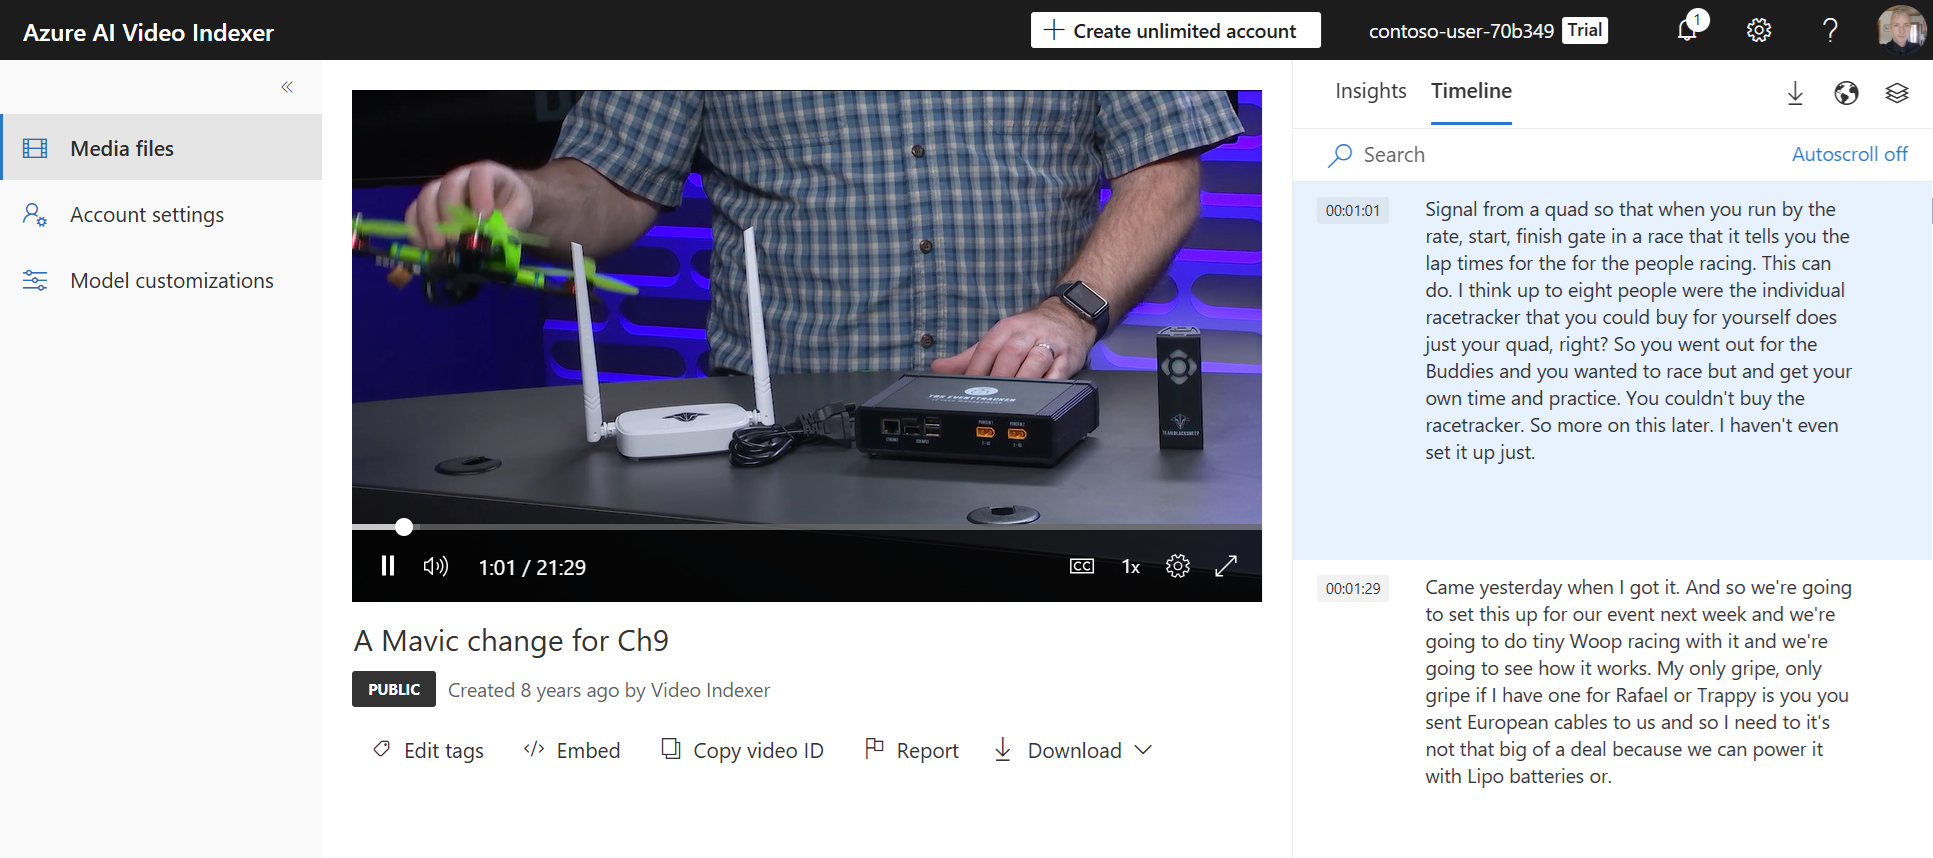
View the timeline
- Select the video and then select the Timeline tab. The video transcript appears.
- Scan the transcript to see what the video covers.
- Select Azure AI Video Indexer above the left navigation bar to exit and return to the home page.
View the insights
- On the home page, select the Samples tab.
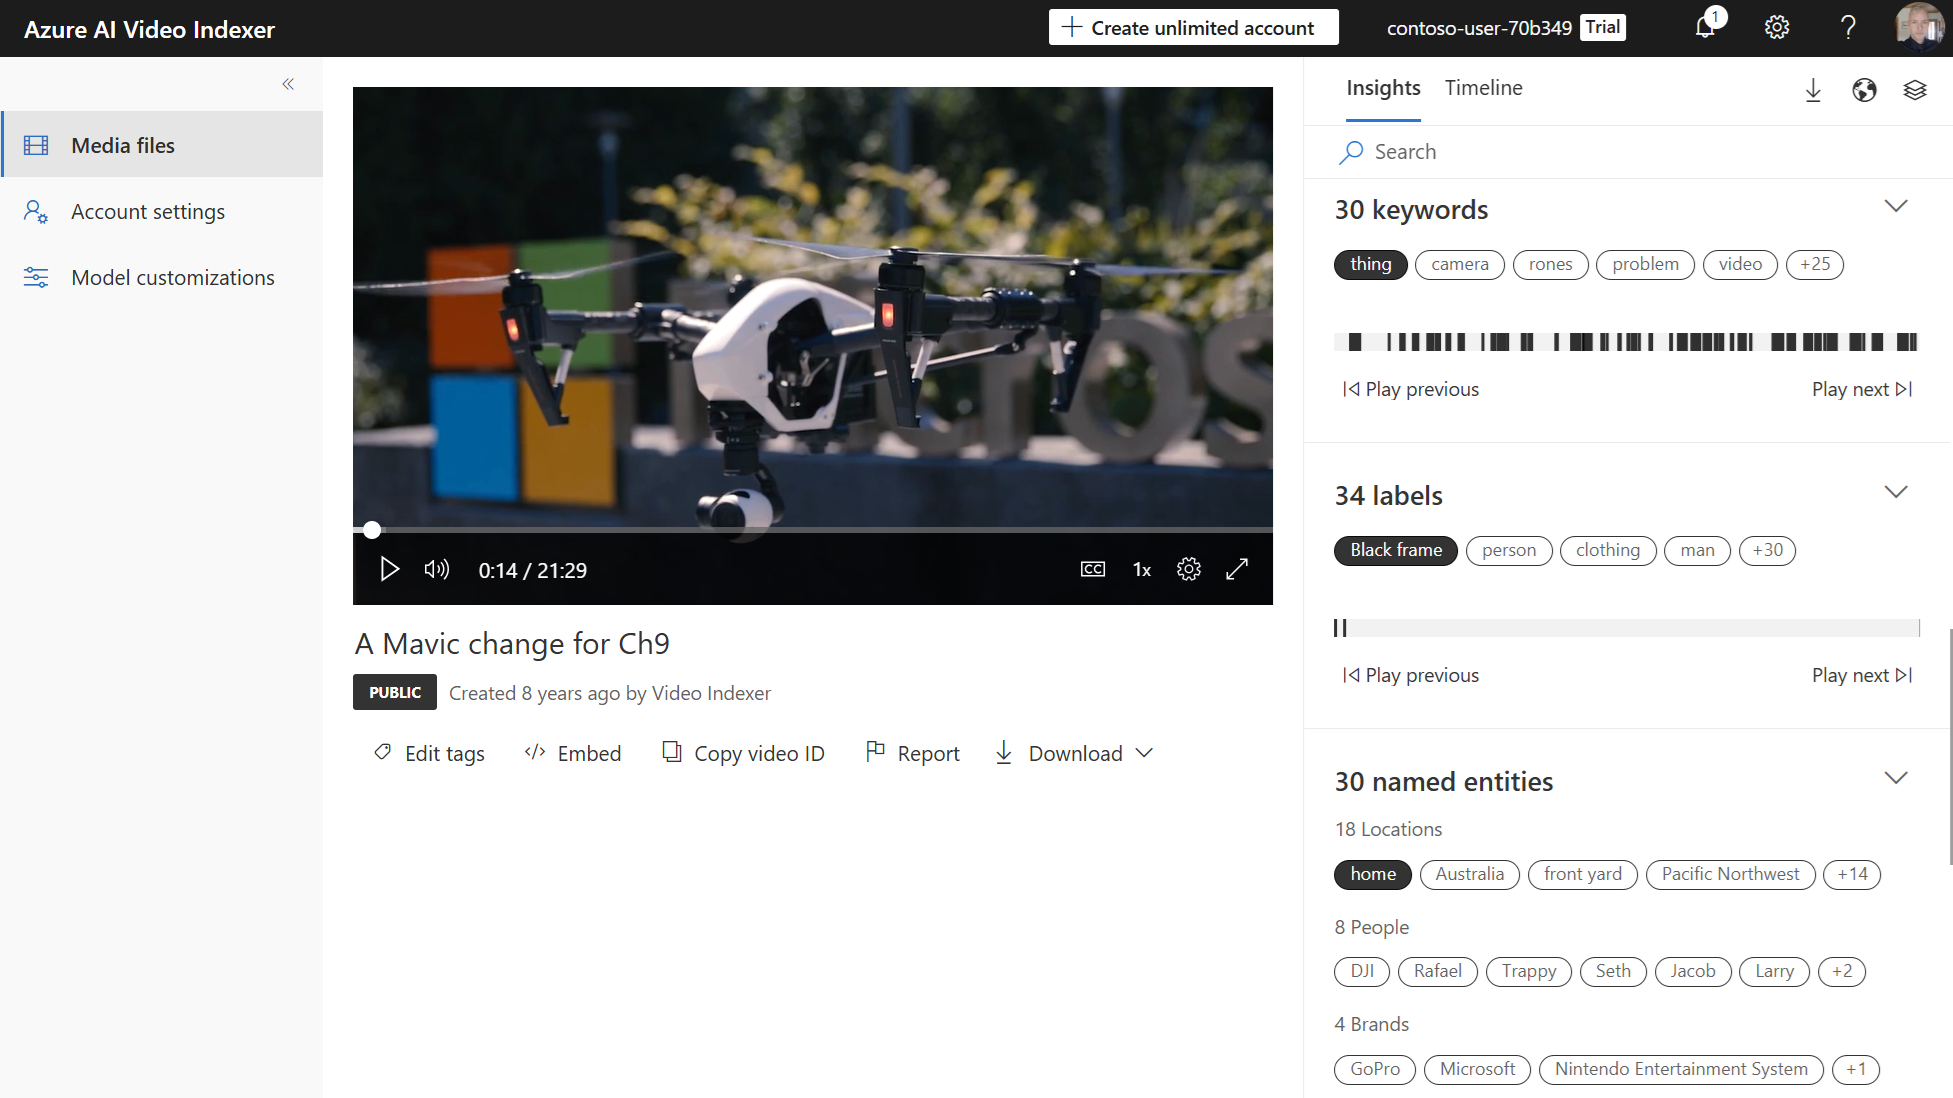
- Select any one of the videos from the Samples library. The video starts playing and the Insights tab appears.
- The insights are grouped into categories like People, Topics, Labels, and Named entities.
- Select Azure AI Video Indexer above the left navigation bar to exit and return to the home page.
View your video timeline and insights
- Select the Library tab. Your indexed videos appear there. If your video is still uploading, you see a thumbnail with the upload percentage.
- When indexing finishes, select your video to see the insights.
- Compare the insights shown to the ones that you viewed in the Samples library.
View the JSON
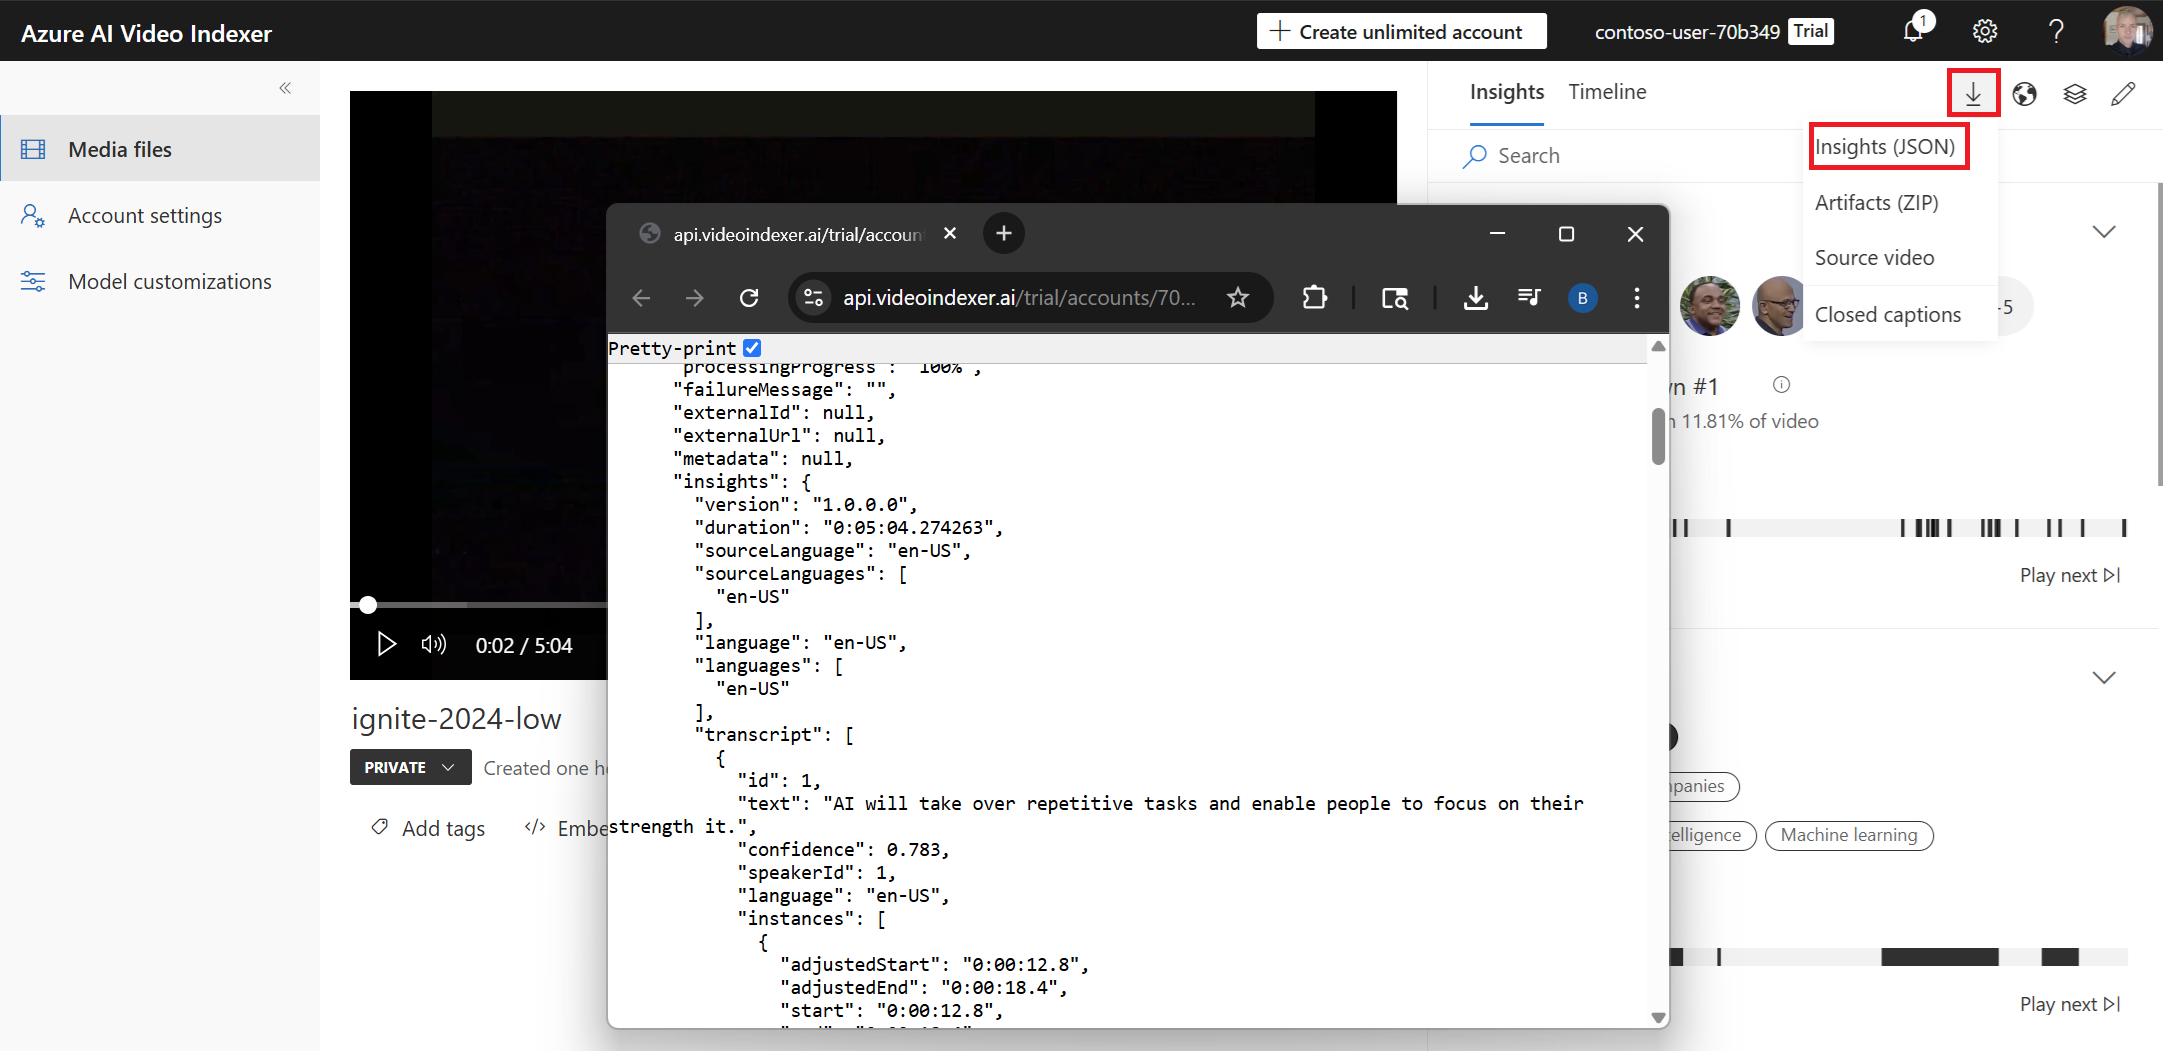
Access the API JSON response for your indexing job.
- In the upper right, select the Download symbol.
- Select Insights (JSON). The JSON file opens in a new browser window or tab.