Note
Access to this page requires authorization. You can try signing in or changing directories.
Access to this page requires authorization. You can try changing directories.
This article shows you how to set up alerts on an eventstream. When you set an alert on an eventstream, an Activator destination is automatically added to the eventstream.
Set alert on an eventstream
If the eventstream is in Edit mode, select Publish on the ribbon to publish the eventstream.

Confirm that the eventstream is in Live mode.
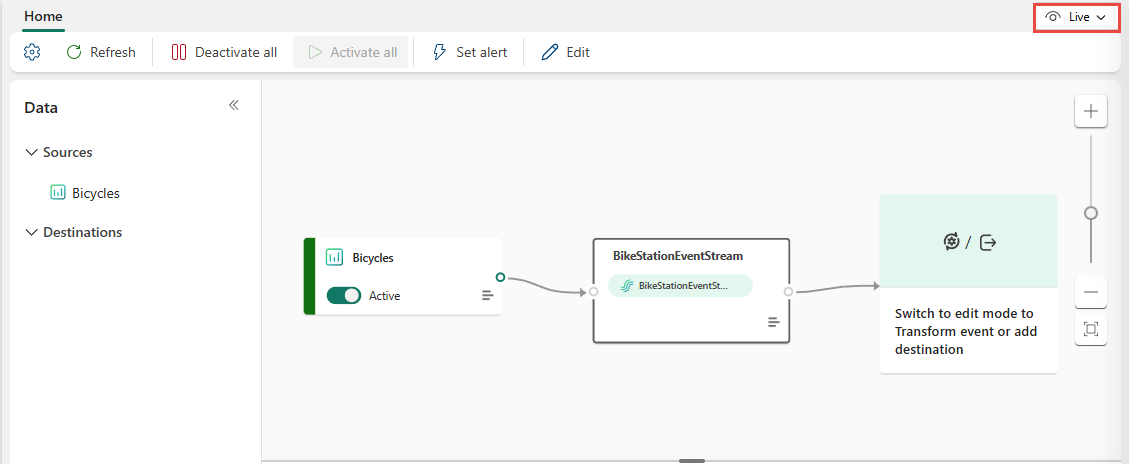
Select Set alert on the ribbon.


Add an alert rule
In the Add rule pane, for Rule name, enter a name for the alert rule.

In the Condition section on the Add rule pane, for Check, select one of these values:
on each event: The action triggers for every event that flows through the eventstream.

On each event when: The action triggers only for the events that satisfy a specific condition. You define the condition using a field in the eventstream, an operation to perform, and the value to compare against. For example, you can set the condition to check if the value of the No_Empty_Docs field in the event data is
0.
On each event grouped by: The action triggers for groups of events that satisfy a specific condition. You define the condition using a field in the eventstream, an operation to perform, and the value to compare against. For example, you can set the condition to check if the value of the No_Empty_Docs field in the event data is
0for a group of events grouped by the Neighborhood field.
In the Action section of the rule, select an action to perform when the condition is met, and configure other fields for the action. Supported actions include sending notifications such as Microsoft Teams messages or email, or triggering workflows via webhooks or Power Automate.

For more information about actions, see Action section in the Add rule pane.
Here's an example of the action configuration:

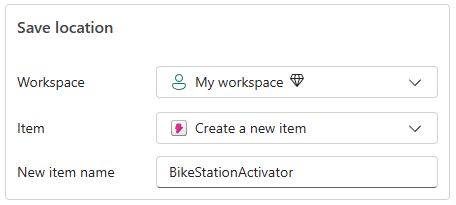
In the Save location section, follow these steps:
For Workspace, select the workspace where you want to save the alert.
For Item, select an existing Activator item or select Create a new item.
If you selected Create a new item, enter the name of the new Activator item in the New item name field.
On the Add rule pane, select Create to create a rule in the new activator or an existing activator.

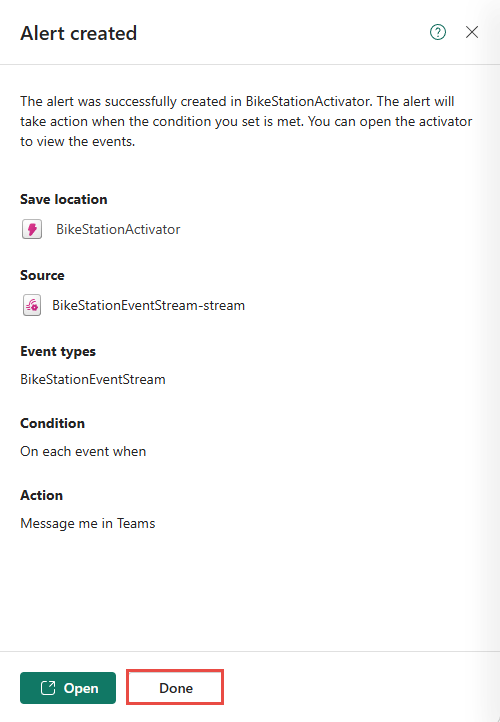
On the Alert created pane, you see the details of the alert you created. Select Done to close the pane. Alternatively, you can select Open to view the Activator item in the Fabric Activator user interface (UI).


Activation destination
You should see the Activator destination added to the eventstream with the alert rule you created.

Here's an example of an alert you receive when the condition of the rule is met:

Manage rules
The Rules pane provides consolidated visibility for all rules in the linked Activator item for this Eventstream and supports inline start/stop, edit, and add operations without leaving Eventstream, reducing context switching.
Select the alert icon on the Activator destination in the eventstream. You see the Rules pane that provides consolidated visibility for all rules in the linked Activator item for this Eventstream. In this pane, you can perform the following actions:
- View all the rules in the Activator item.
- Stop or start a rule.
- Edit a rule.
- Delete a rule.
- Open rule in the Fabric Activator UI.
- Add more rules.
Stop or start an alert rule
Select the alert icon on the Activator destination in the eventstream.

You can use the same toggle to start the alert rule again after you stop it.
Edit or delete a rule
In the Rules pane, select the ellipsis (...) on the Activator destination in the eventstream.

Open the rule in the Fabric Activator UI
In the Rules pane, select the ellipsis (...) on the Activator destination in the eventstream.

After opening the rule in Activator, you can monitor and analyze activation history, test and activate alerts, and send test notifications (for example, a test message to Microsoft Teams) to validate the rule configuration.
Add another alert rule
To add more rules to the Activator item, select Add rule at the bottom of the Rules pane.

Related content
See the following articles: